
This paper plate frog is fun and easy to make and your kids will not only have a great time making it but also playing with it.
So let’s get started.
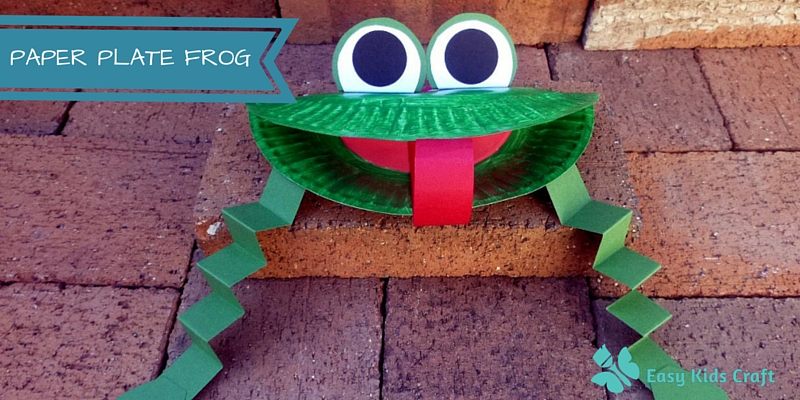
How to Make a Paper Plate Frog
Skill Level – Med
Time Required – 20 minutes
First, let’s get everything ready so you can give your little ones your complete attention and avoid all those interruptions.
What you will need
• Paper plates
• Green, red, black & white card
• Green & red paint
• Tacky glue or sticky tape
• Scissors
Step 1
Fold the paper plate in half and crease at the fold. Open it up and paint the outside with the green paint.
Step 2
When the paint has dried it’s now time to paint the inside of the mouth. Paint the lip area (around the rim of the paper plate) green, then paint the circle left in the middle red.
Step 3
While that is drying it’s time to make the eyes. The eyes are made out of 3 different sized circles of green, white and black card. Depending on the size of your plate will determine the size of your eyes.
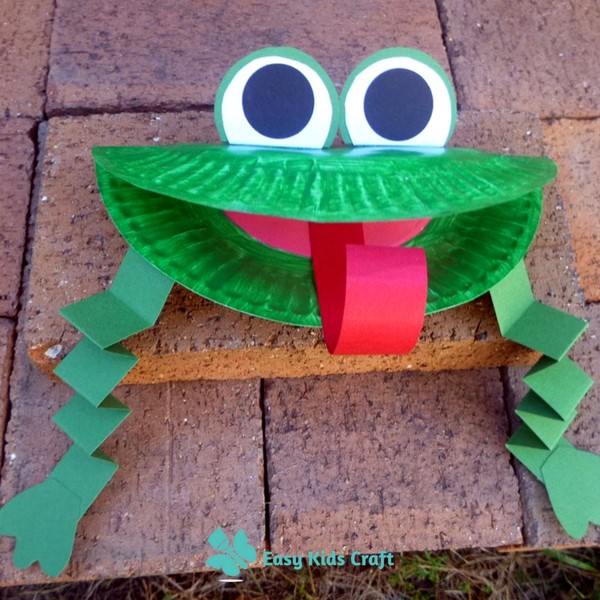
This paper plate frog in the above image was made with a small paper plate so the largest circle in green is 4.5cm in diameter. Cut 2 green circles then 2 smaller white circles followed by 2 black circles which are used as the pupils.
Step 4
Once you have cut out the circles glue the green and white together. When that’s dried fold back the circles about 1cm from the bottom (green to green). Now use this lip to glue the eyes to the paper plate. Then glue the black circles to the eyes.
Step 5
Now for the finishing touches.
Cut a strip of red card 2.5am x 12cm. Use a pencil to curl one end of the card then glue the other end into the mouth of the paper plate frog.
To make the legs cut 2 strips of green card, 2.5am x 20cm and concertina fold the card and glue to the underside of the frog head.
There you have it, a cute paper plate frog your child can play with.
I hope you’ve enjoyed this guide on How to Make a Paper Plate Frog. If you’ve got some great variations on this fun kids craft idea then please feel free to leave them in the comments below.
Or maybe share a photo or two on my Facebook Page.

Comments are closed, but trackbacks and pingbacks are open.