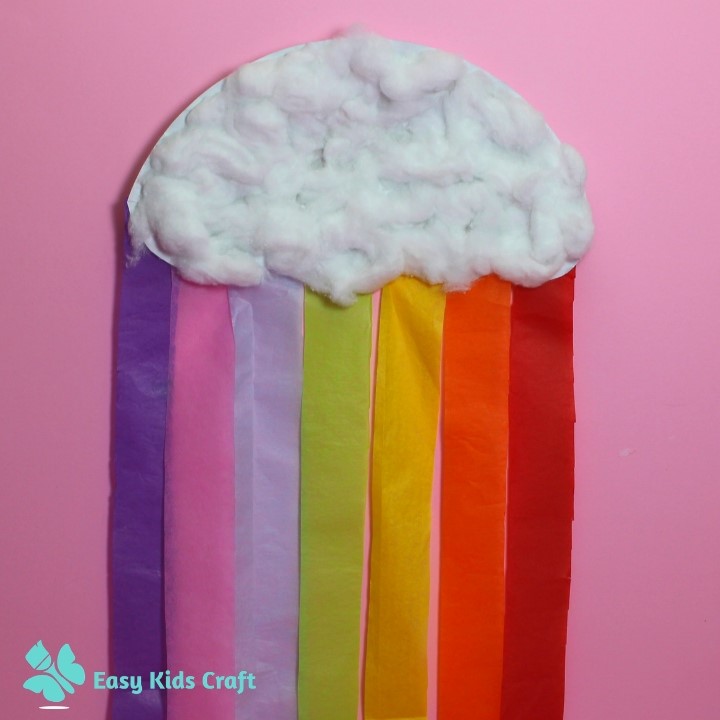
This paper plate rainbow is amazingly simple to make and would look great hanging in a child’s bedroom room on the wall or on the back of their door. And because they can make it themselves it’ll be one of those fun kids crafts they’ll be really proud of.
Of course, you could also hang it near a window and let it catch the breeze, although you might want to replace the tissue paper strips with colored ribbon for added durability.
Anyway, let’s get started and if you get stuck just watch the step-by-step video at the end of this tutorial.
How to Make a Paper Plate Rainbow
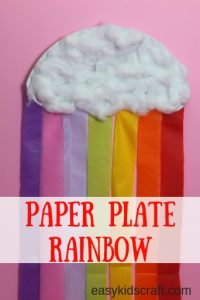 First, let’s get everything ready so you can leave the little ones to get busy and avoid all those interruptions.
Skill Level – Easy
Time Required – 20 minutes
What you will need
- Large paper plate
- Colored tissue paper
- Cotton balls
- Scissors
- Glue
Step 1
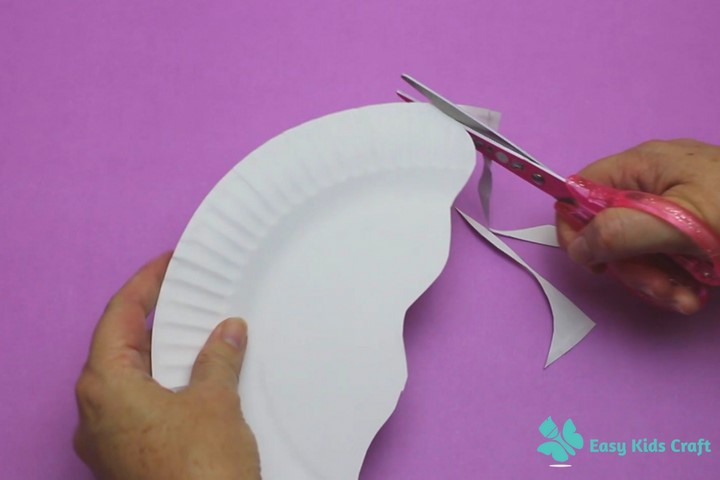
First, cut the paper plate in half then round of the bottom of the paper plate to form a cloud.
Step 2
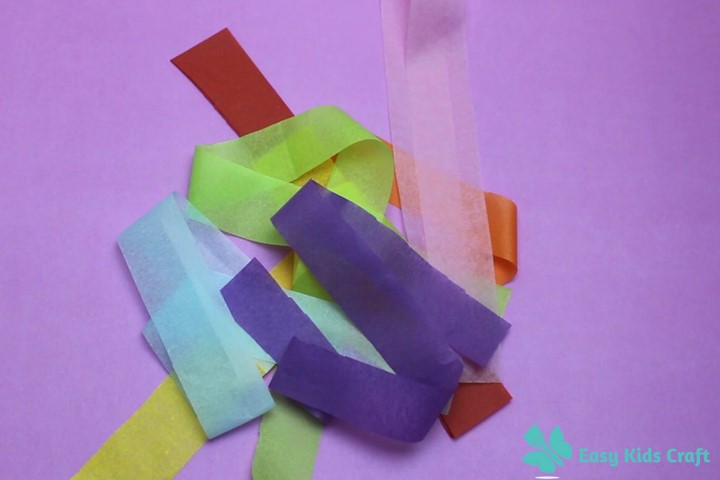
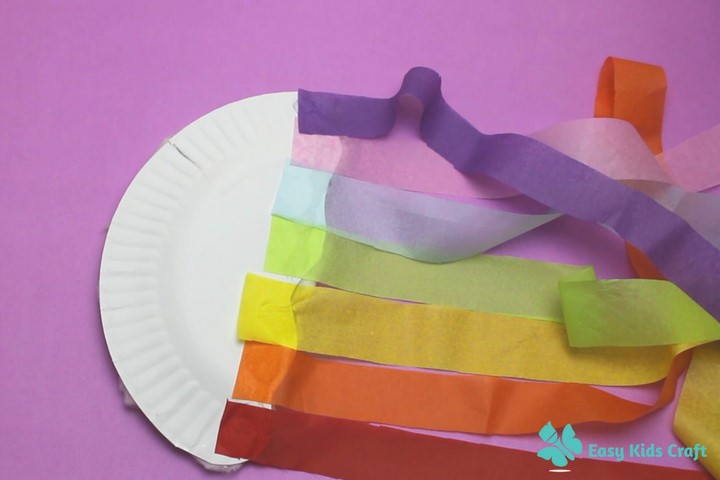
Next, cut your rainbow colored tissue paper or streamers to the length you require.
Step 3
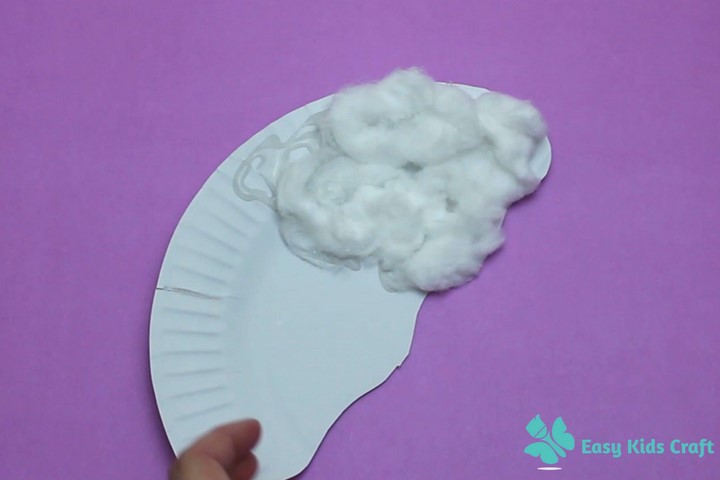
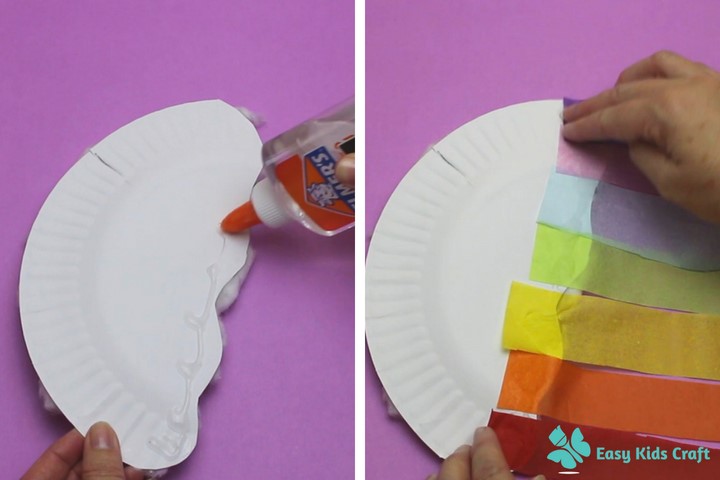
Then fluff out your cotton balls and glue to the front of your paper plate.

Step 4
Once the front of the paper plate has dried enough to turn over and glue your paper streamers to the back.

Step 5
If you would like to hang your paper plate rainbow add some string to the back and then you are finished.

Step 6
Once the glue has dried turn the paper flower over and sticky tape a straw to the back of the paper flower and you are finished.
Here’s a quick video on how to make a rainbow paper plate
And don’t forget to subscribe to our YouTube Channel for more ‘How To’ Easy Kids Craft ideas.
I hope you’ve enjoyed this guide on How to Make an Easy Rainbow Paper Plate for your kids. If you have some great variations on this craft idea then please feel free to leave them in the comments below.
We also have more Kids Paper Plate Craft Ideas on this blog, so be sure to check them out.
And don’t forget to share your photos on our Facebook Page.


Comments are closed, but trackbacks and pingbacks are open.