
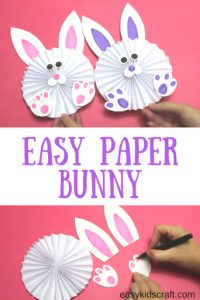
Learn how to make this Concertina Paper Bunny with 6 easy steps. You’ll just need a single sheet of paper and then some pretty craft elements to use for decorations.
And this Concertina Paper Bunny is a great Easter craft idea for pre-schoolers.
Your kids will love this Paper Bunny craft idea and once they learn about folding concertinas you can expect them to keep asking for more and more paper to explore the ideas racing around in their heads. And don’t forget to check out our Concertina Unicorn for more inspiration.
Anyway, let’s get started.
How to Make this Concertina Paper Bunny
 First, let’s get everything ready so you can leave the little ones to get busy and avoid all those interruptions.
Skill Level – Med
Time Required – 20 minutes
What you will need
- Construction paper
- Construction card
- Colored makers
- Scissors
- Glue
Step 1
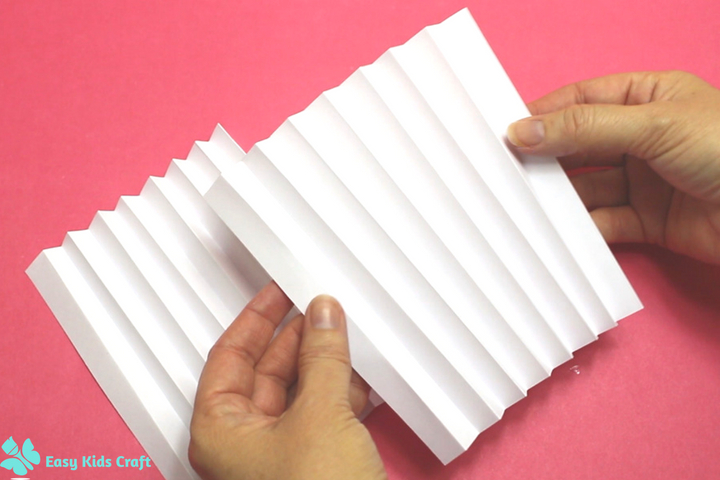
First, concertina fold 2 pieces of A5 construction paper approx 1/2in each fold.
Step 2
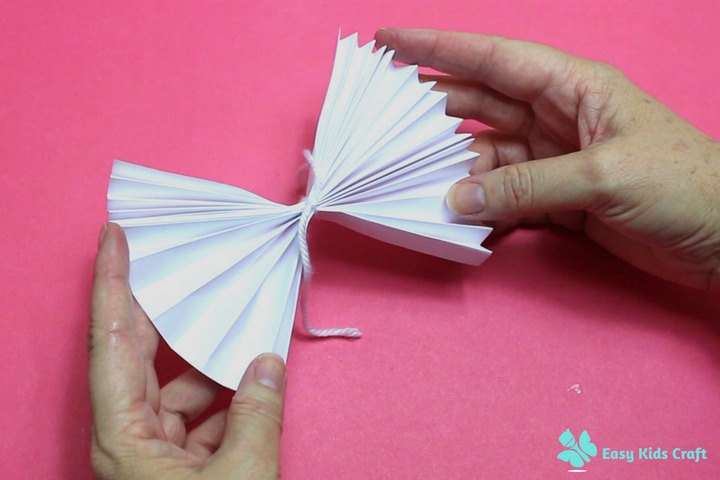
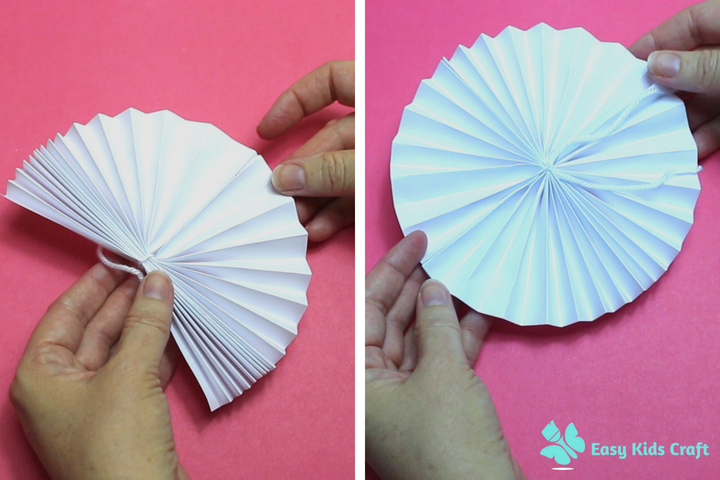
Next, glue the 2 pieces together. Fold up the paper and tie together then centre the string so when you glue the sides together they are even.

Step 3
Then glue the sides together forming a circle.

Step 4
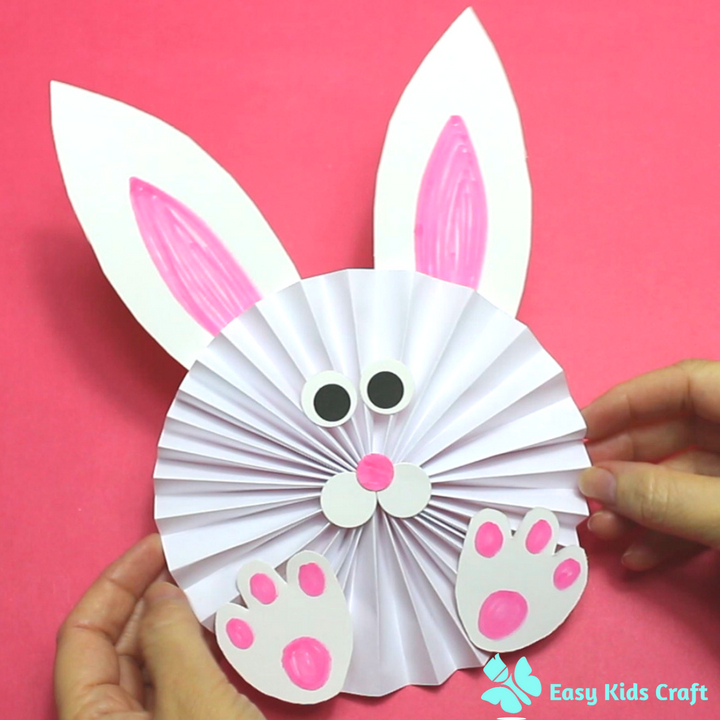
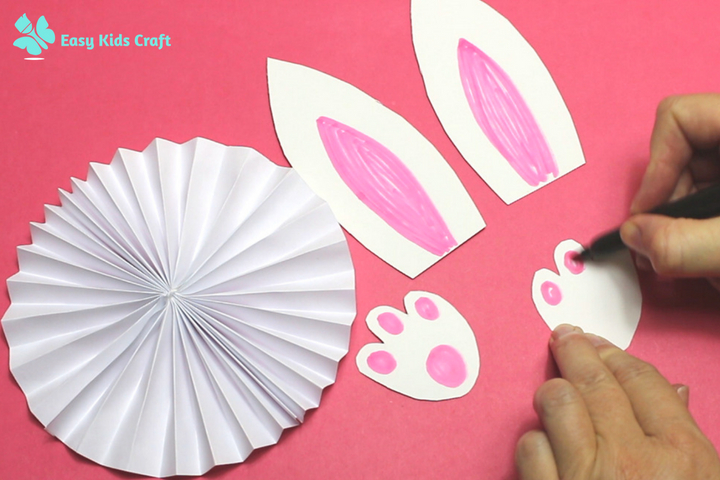
Next using your construction card cut out 2 ears and 2 feet and color in the inside of the ears and the pads of the feet.

Step 5
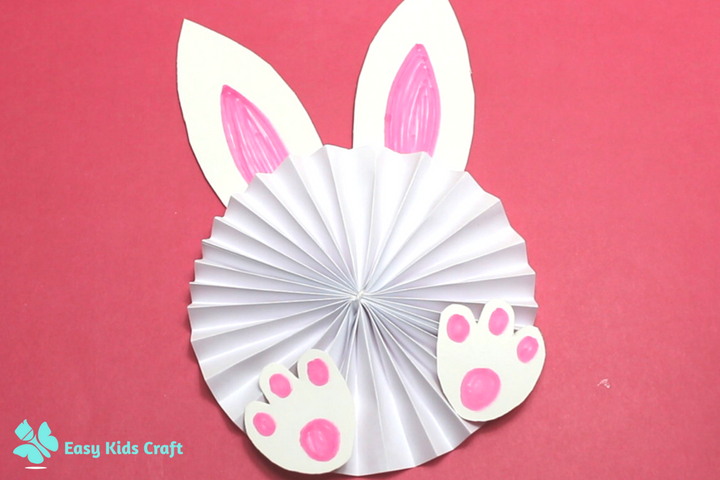
Then glue the ears to the back of the face and the feet to the front.

Step 6
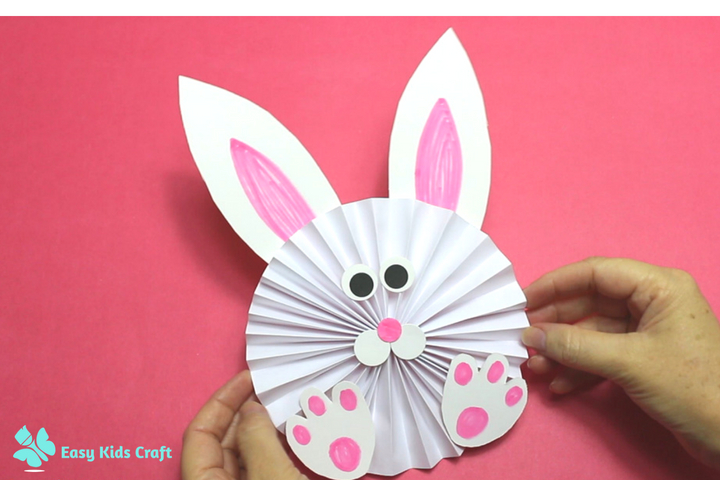
For your last step cut some circles for the eyes and nose and glue into place.
Here’s a quick video on how to make a paper bunny
And don’t forget to subscribe to our YouTube Channel for more ‘How To’ Easy Kids Craft ideas.
I hope you’ve enjoyed this guide on How to Make a Paper Bunny for your kids. If you have some great variations on this craft idea then please feel free to leave them in the comments below.
Or maybe share your photos on our Facebook Page.
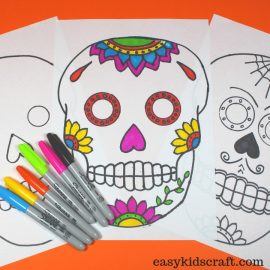
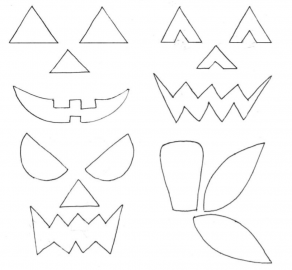
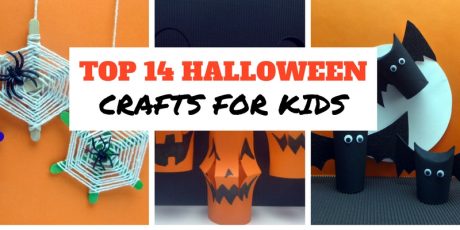
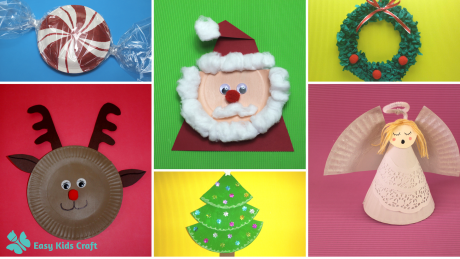
And be sure to check out our other fun Paper Craft Ideas.

Comments are closed, but trackbacks and pingbacks are open.